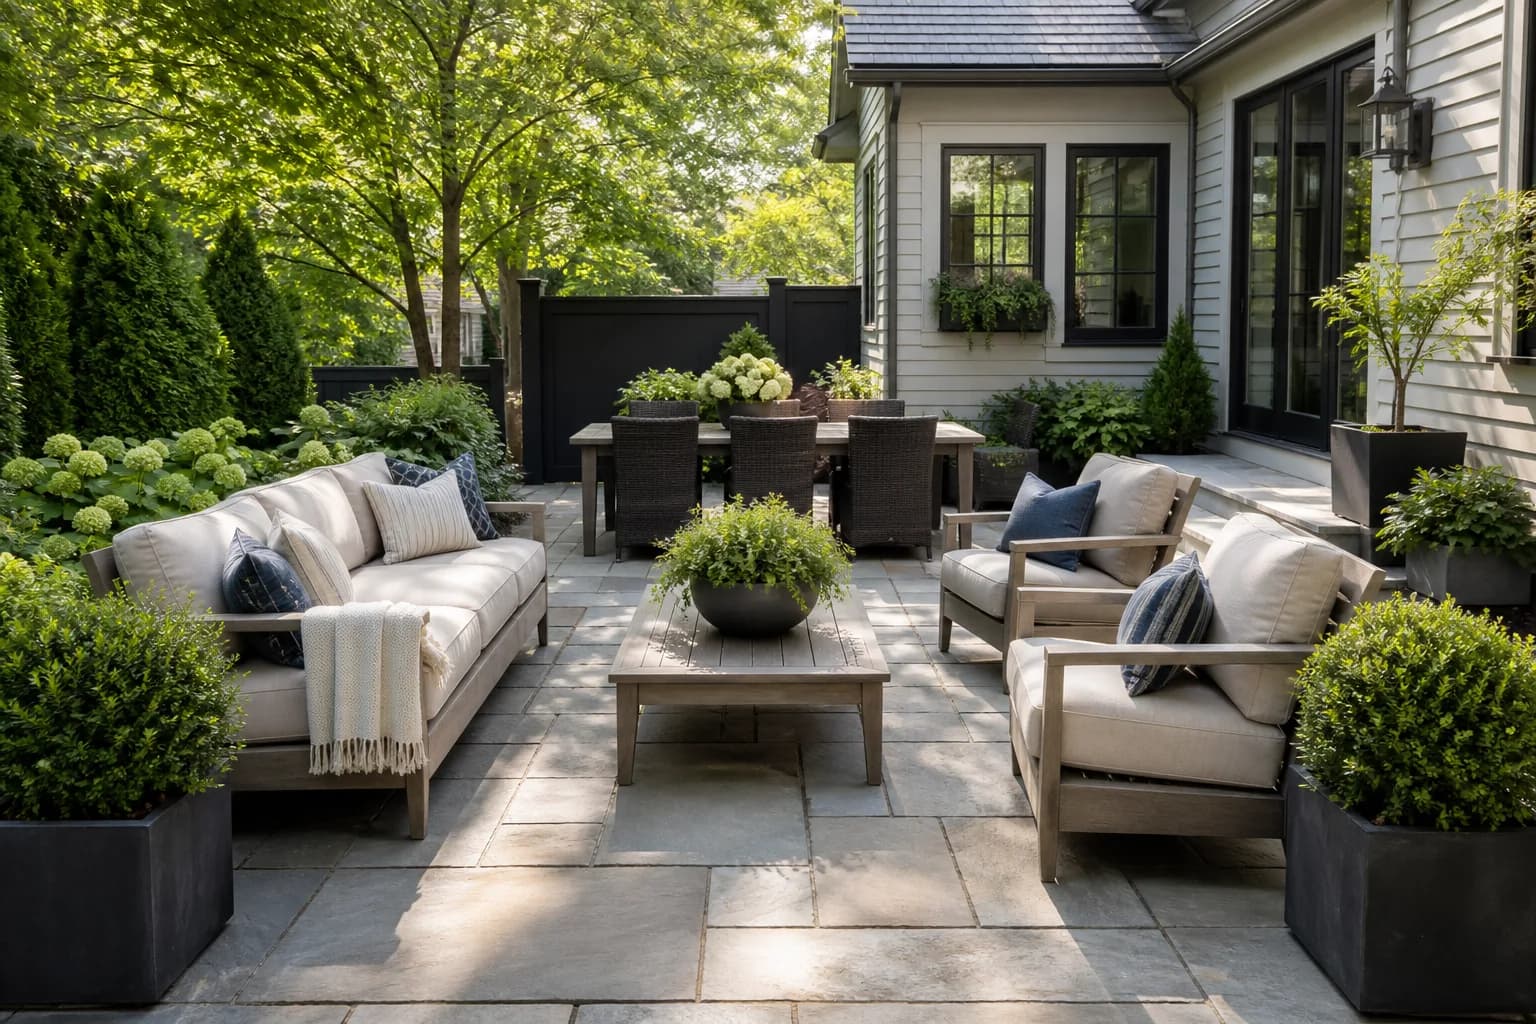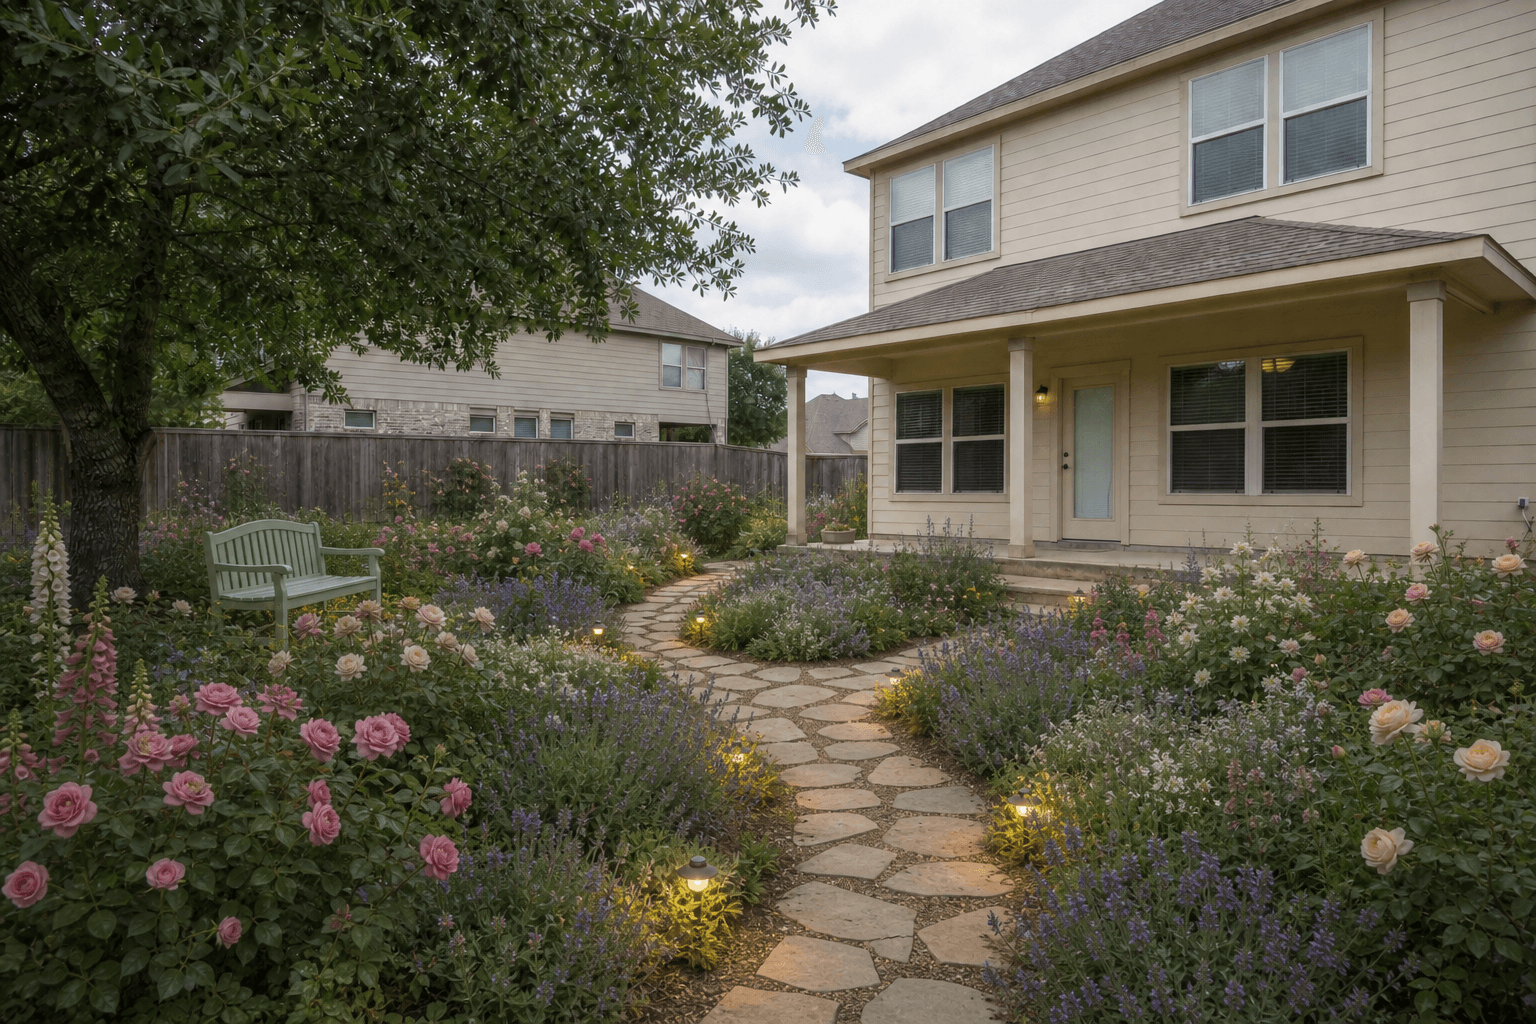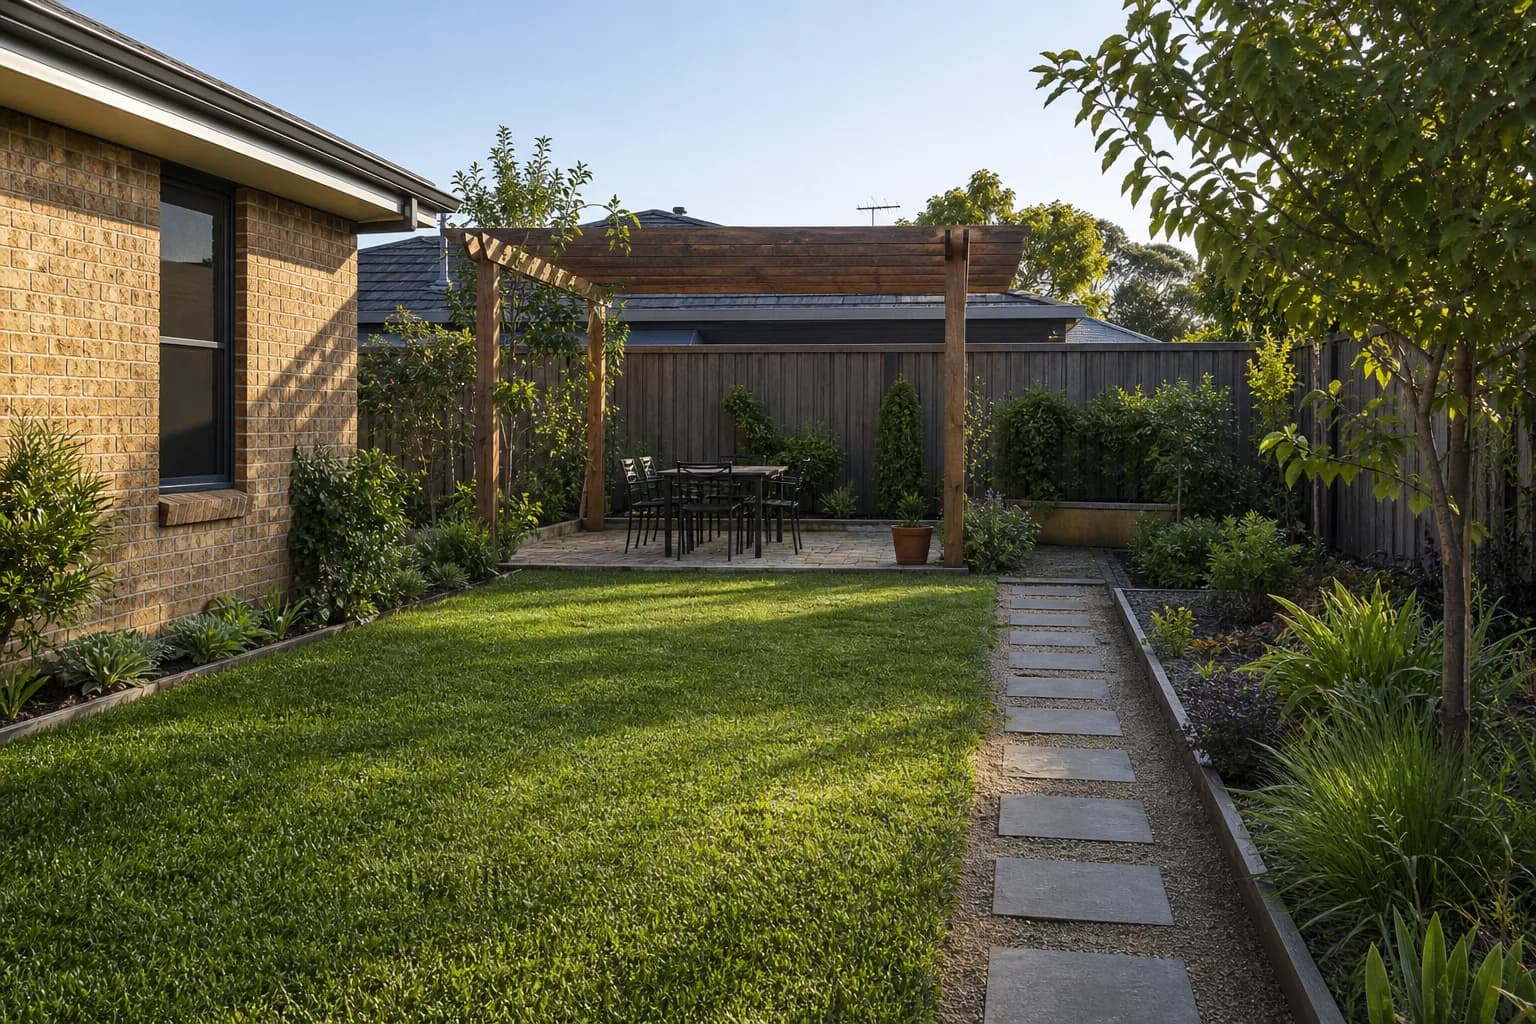
When people start a yard makeover, they often collect style images and shopping lists before they document the actual site. Then the path is tighter than expected, shade is deeper than memory, and drains do not match the render.
A more reliable workflow is to plan a yard makeover from photos: lock layout, edges, and light with 1–4 real shots, compare directions, and only then sequence budget. This method works for backyards, front yards, and narrow side yards.
Why a yard makeover should start with photos
Renders flatter a space. Photos force constraints into the open. That is what turns vague inspiration into a plan you can discuss, compare, and build.
- Clearer layout: doors, steps, fences, and utilities appear together so you stop guessing sizes.
- Clearer light: same-time multi-angle shots reveal shade fall and usable sun pockets.
- Cheaper decisions: comparing direction before materials usually costs less than buying first and revising later.
The 4 photo angles that matter
You do not need pro gear. Use landscape phone shots, keep the camera steady, avoid extreme wide distortion, and shoot in one light window.
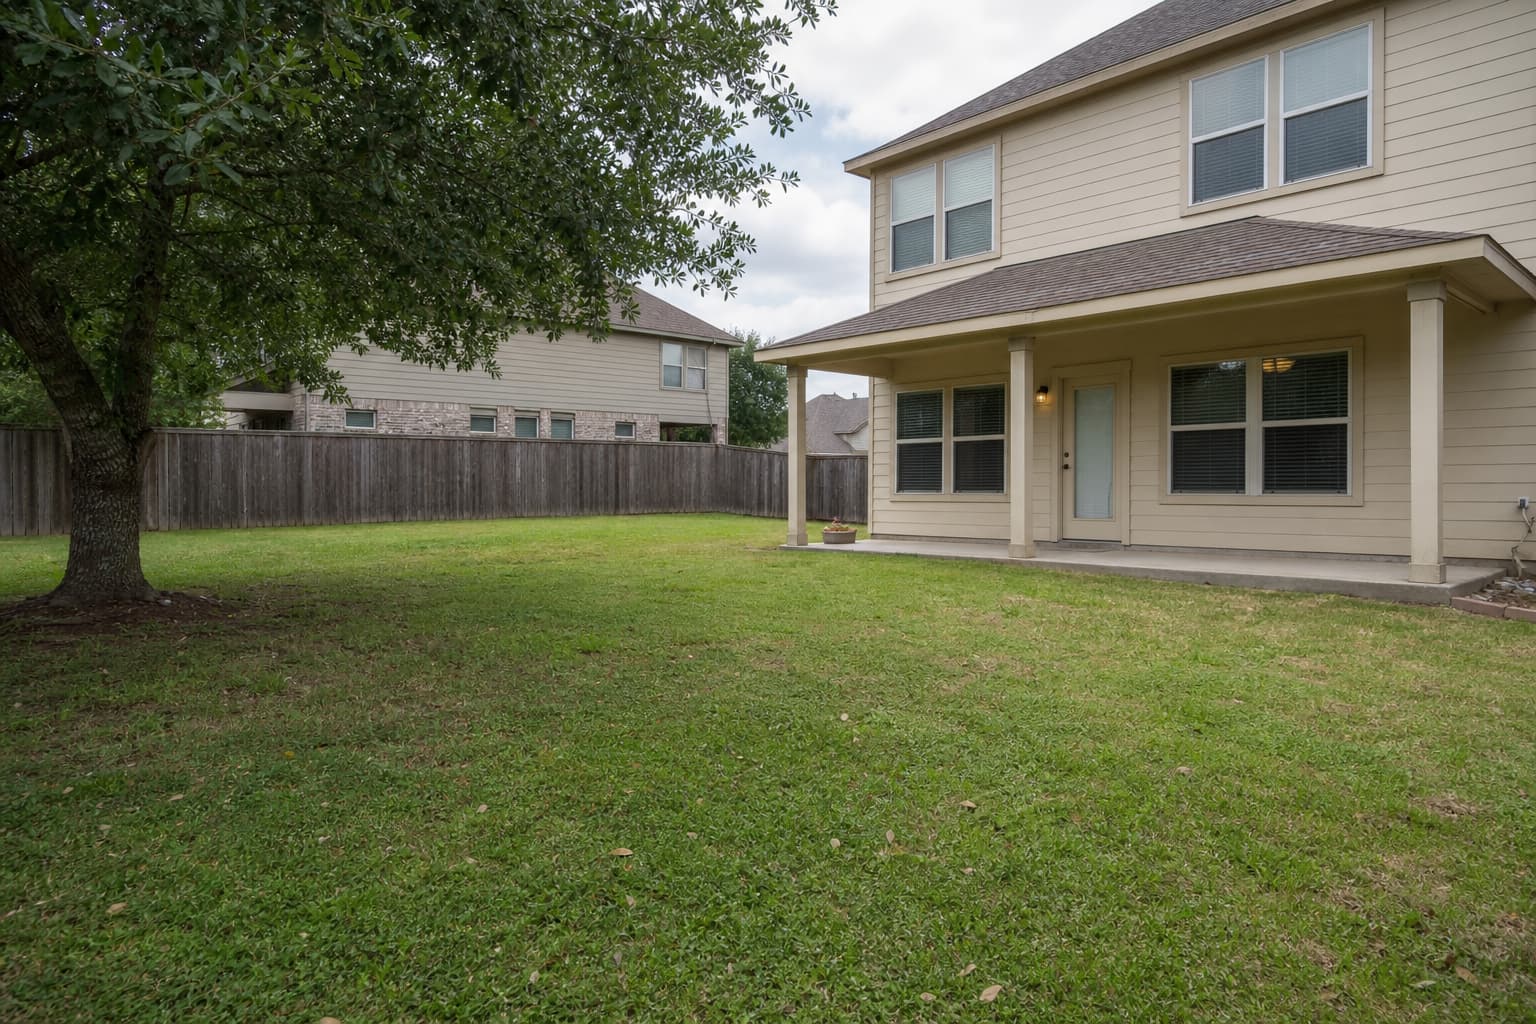
1. Overview: capture the whole relationship
Stand where the main use zone is visible. Include the house face, primary ground plane, and enclosing edges. The overview answers what is open, what is blocked, and how the big pieces relate.
2. Entry path: show how people arrive
Shoot from the everyday entry outward or inward. Include steps, porch depth, and path width. Many “pretty but unusable” plans fail because the entry is too tight or the turn is awkward.
3. Corners and edges: find underused potential
Photograph dead corners, fence insides, side strips, and space beside equipment. These ignored zones often become storage, planting bands, or small paving moves.
4. Detail shots: record non-negotiable constraints
Add drains, outdoor outlets, root heave, failed paving, and fixtures that must stay. Detail photos stop later concepts from erasing real limits.
How to prioritize work after you shoot
Once photos are ready, do not jump straight into style debates. Split must-do, high-impact, and later work first.
| Priority | Typical items | Decision test |
|---|---|---|
| P0 must-do | Drainage, safe path, hazards | Blocks use or safety |
| P1 high impact | Main ground, primary planting, entry first view | Seen daily, fast comfort gain |
| P2 later | Furniture, accent lights, feature walls | Add when budget allows |
- Mark trees, fences, and steps you will keep.
- Mark problems you must fix: pooling water, slip risk, dead ends.
- Only then compare styles in the GardenGPT workspace.
Turn photos into comparable options in GardenGPT
After uploading 1–4 photos, work direction-first:
- Compare two or three style directions before debating every material.
- Browse the template gallery for sites close to your scale, then refine in the workspace.
- For broader context, review AI landscape design examples by yard type.
When your photos can explain what stays, what changes, and where money goes first, the yard makeover becomes a staged plan instead of a wishful render.
Frequently asked questions
Is one photo enough?
One overview can start the process, but entry, corner, and detail shots make layout calls and style comparisons much more reliable.
Can I shoot on cloudy days or at night?
Yes for structure. Add a daytime set at the same angles if you need to judge sun and planting zones.
Do I still need professional measurements?
Yes before structural work. For early direction screening, disciplined photos are usually enough to reject bad paths.
Should people appear in the photos?
Not required. Boundaries, level changes, and fixed utilities matter more than lifestyle staging.
How do I avoid getting pulled by a pretty render?
Write keepers and constraints first. Drop any concept that steals needed circulation or ignores drainage.
Do small yards still need four angles?
Especially small yards. Less area often means denser conflicts among doors, utilities, and sun.
Treat planning a yard makeover from photos as a fixed habit: shoot the four angles, then choose style and materials. Next step is simple—upload your site photos, compare directions, and spend in the right order.