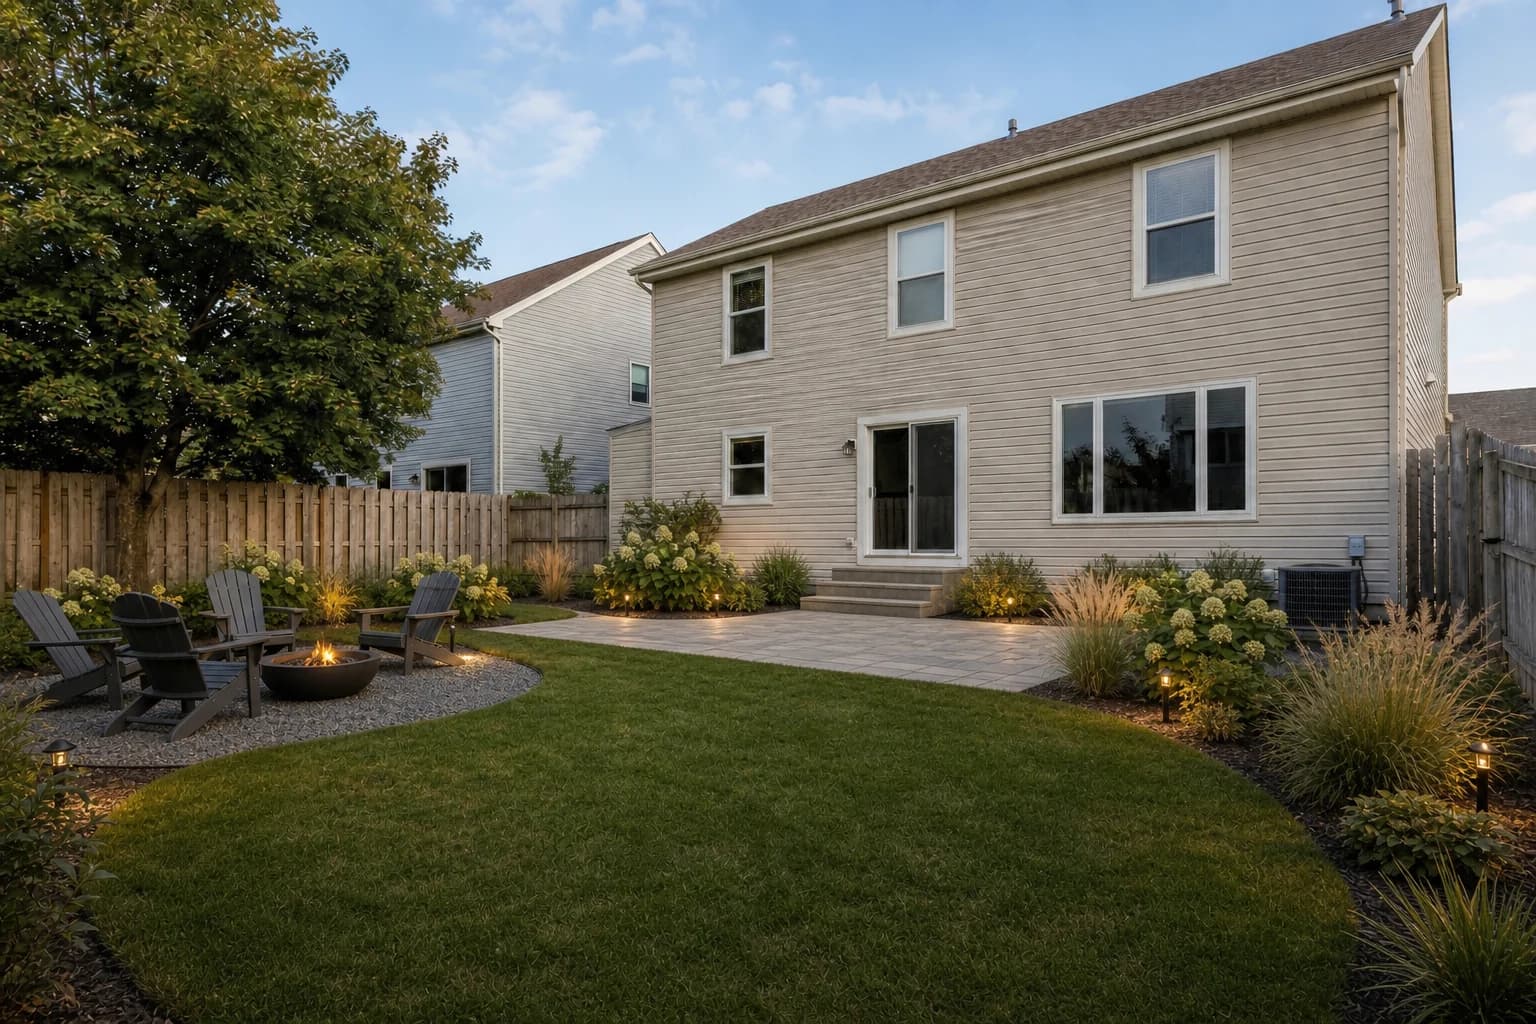
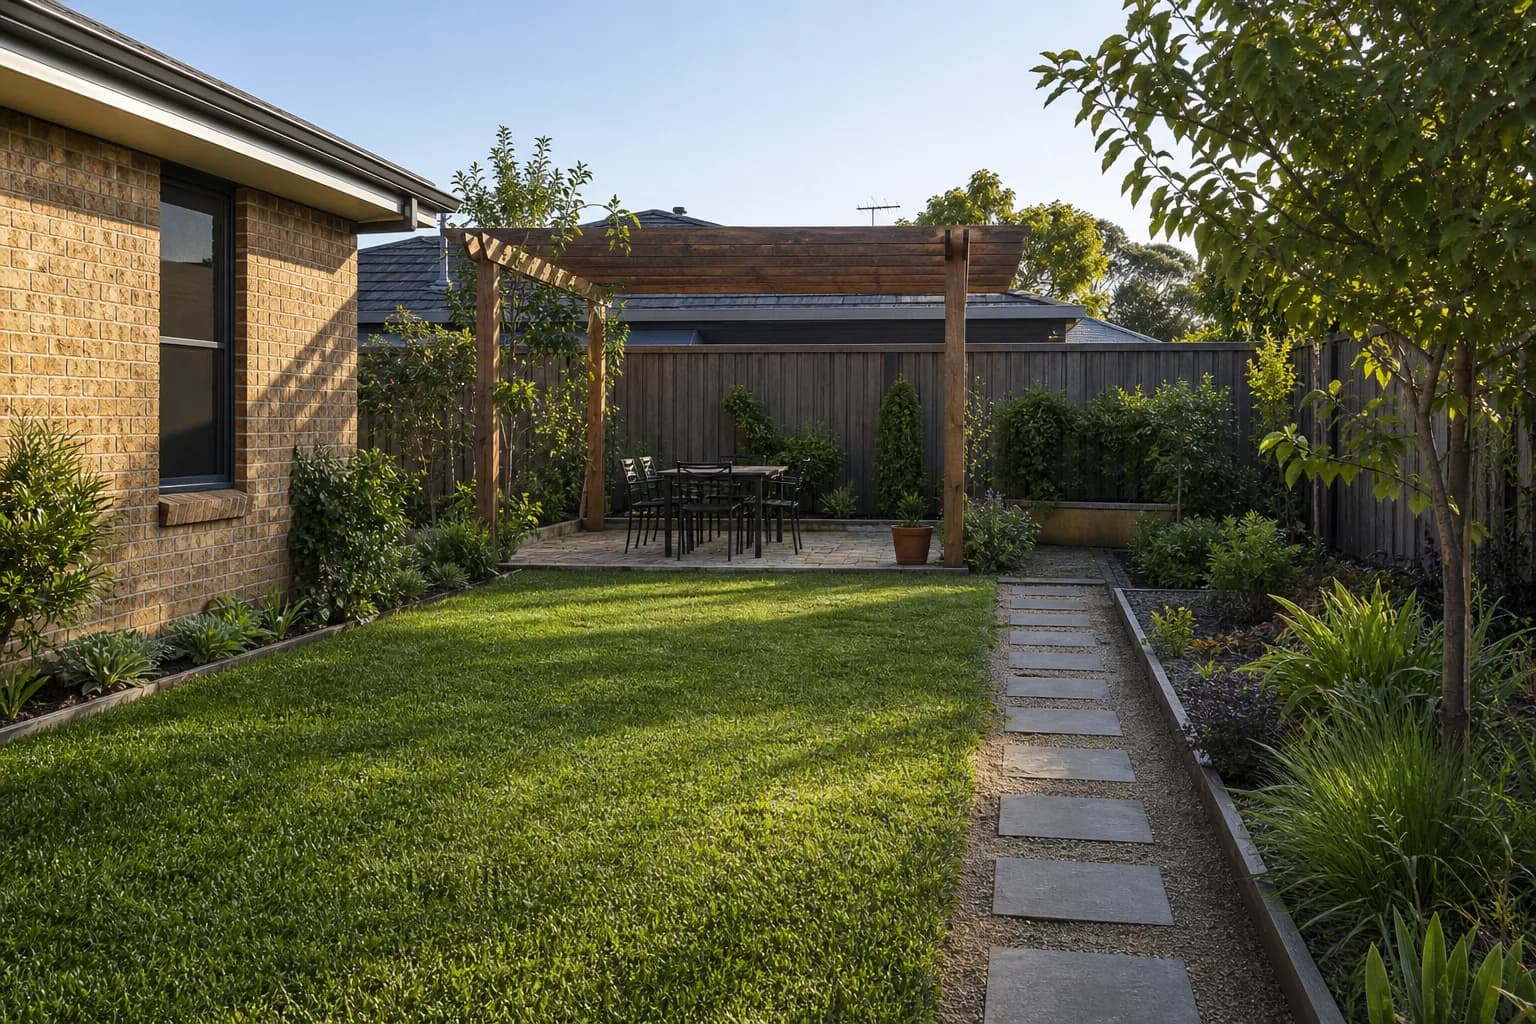
A slope is not empty space waiting to be flattened. These 15 directions show how to work visually with the grade while separating inspiration from retaining-wall, drainage, and structural decisions.
A good outdoor-space idea should survive the unglamorous parts of the site: doors that must open, water that must leave, equipment that must be serviced, and people who need to move through it. Use the ideas below as design directions, then measure and verify before buying or building.
Read the space before choosing a look
Observe the slope during and after rain before drawing anything. Note where water enters, accelerates, cuts channels, ponds, or leaves the property. Then identify the safest existing route and whether routine maintenance can reach every zone without crossing unstable ground.
- Visible erosion, cracks, or exposed roots
- Water entry, channels, ponding, and outlet
- Gentle, moderate, or steep character
- Existing retaining structures and their condition
- Safe access for people and maintenance
A five-minute site scan
| Look at | Record | Why it changes the design |
|---|---|---|
| Rain | Actual water path | Prevents invented drainage |
| Grade | Visual character only | Screens ideas, not engineering |
| Soil | Bare or moving areas | Flags erosion |
| Access | Stable route | Sets maintenance |
| Structure | Walls and cracks | Triggers professional review |
Design directions worth testing
These are not interchangeable decorations. Each direction solves a different use problem. Shortlist two or three that match your site, then compare them on the same photo.
1. A contour-following planting ribbon
A planting band that follows the contour reads as part of the hill instead of decoration pasted across it. Repeat a small plant community in broad sweeps, leaving visible inspection gaps where runoff already crosses the slope.
Before you commit: Work with the grade visually, but treat erosion, retaining structures, steps, and concentrated runoff as site-specific professional questions.
2. A switchback garden walk
A switchback route lengthens the journey and can make a climb feel gentler in a visual study. Start from the safest existing top and bottom connections; the actual gradient, landings, handrails, drainage, and construction still need site design.
Before you commit: Work with the grade visually, but treat erosion, retaining structures, steps, and concentrated runoff as site-specific professional questions.
3. A low-mow groundcover slope
Replacing difficult turf with layered groundcovers can reduce mowing on a bank, but 'groundcover' is not a single engineering solution. Match plants to light and moisture, mix rooting habits, and plan how weeds will be reached during establishment.
Before you commit: Build layers from mature sizes, sunlight, soil, water, and local suitability; leave access for pruning, irrigation, and cleanup.
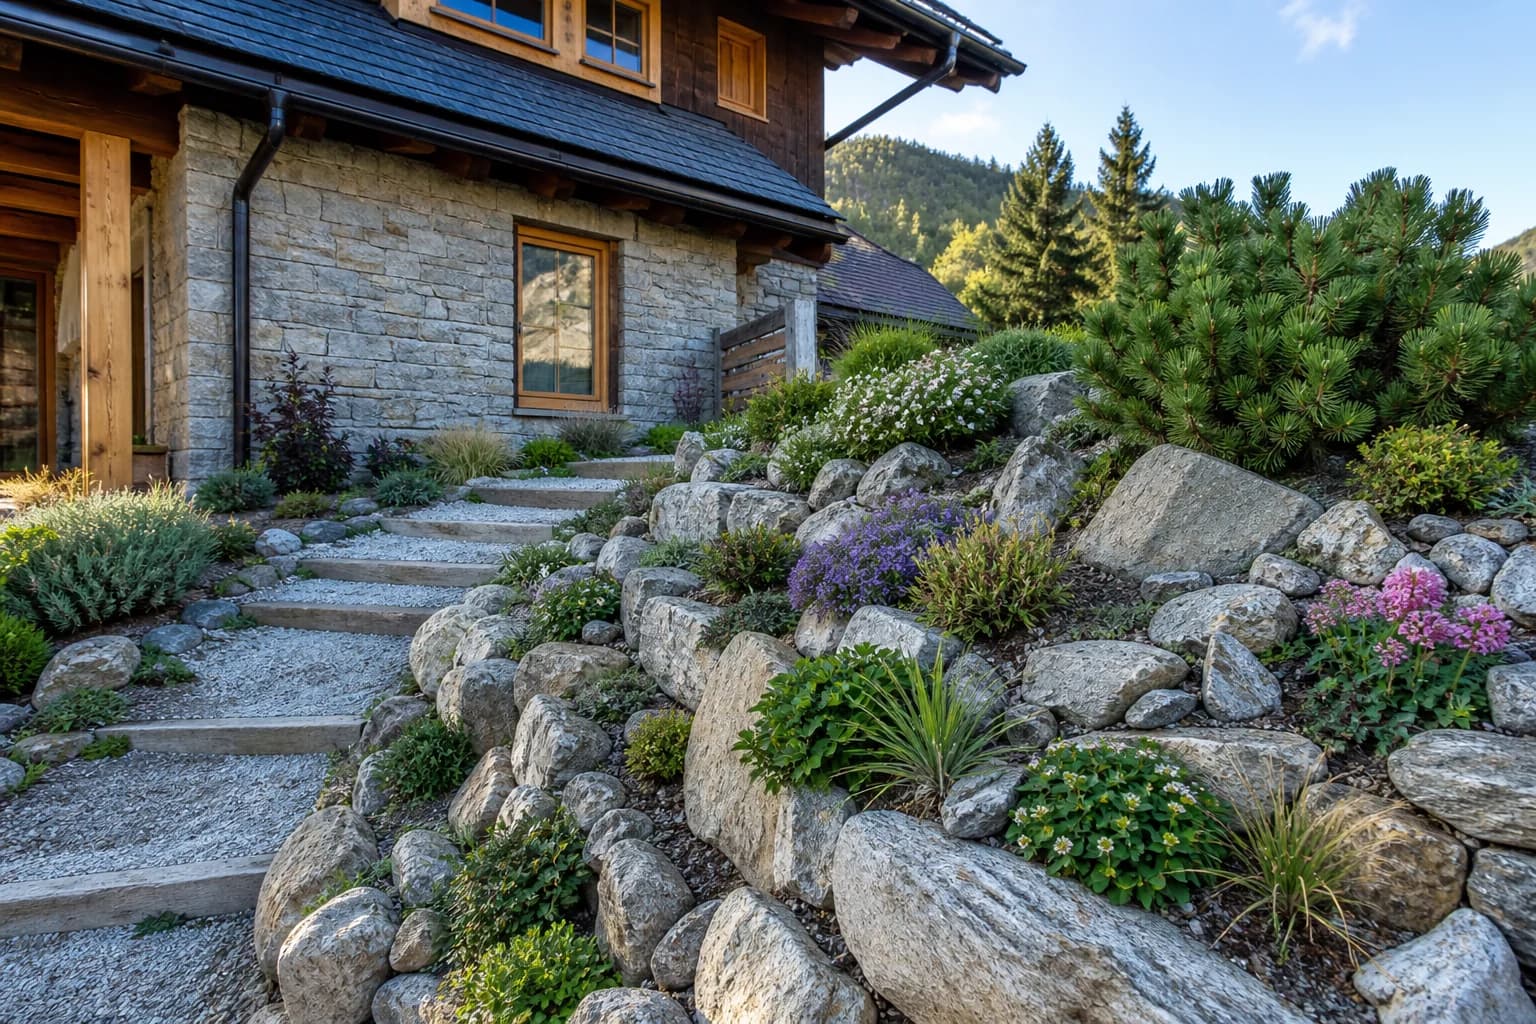
4. A rock-garden direction for a dry bank
A dry, sunny bank may suit a rock-garden character when stones look embedded rather than scattered on top. Use the image to study massing and planting pockets, not to decide boulder stability or where runoff should be blocked.
Before you commit: Work with the grade visually, but treat erosion, retaining structures, steps, and concentrated runoff as site-specific professional questions.
5. One modest landing at the natural pause
One small landing at a natural pause can be more useful than forcing a terrace across the whole hill. It might hold a bench, two chairs, or simply a place to stop and look back—provided access and structure are independently verified.
Before you commit: Choose the number of seats first, then protect the route around them; movable pieces are safer than oversized built-ins in a tight site.
6. A planted view instead of a flattened lawn
Flattening the slope into a lawn can erase the most distinctive part of the yard. A planted foreground, open middle sweep, and stronger group at the top can organize the view while leaving the grade visually intact.
Before you commit: Work with the grade visually, but treat erosion, retaining structures, steps, and concentrated runoff as site-specific professional questions.
7. Steps beside—not through—the main planting
Keeping steps beside the main planting makes both easier to maintain: people have a clear route and the bed remains an uninterrupted visual field. Photograph the approach from both directions so the concept does not create a staircase to nowhere.
Before you commit: Keep one obvious route from gate to door and test door swings, carrying width, night visibility, and wet-weather footing.
8. A woodland edge beneath mature trees
Beneath mature trees, a woodland edge respects existing shade and root character better than a bright formal border. Protect root zones, use modest understory layers, and accept leaf litter as part of the composition rather than a defect.
Before you commit: Build layers from mature sizes, sunlight, soil, water, and local suitability; leave access for pruning, irrigation, and cleanup.
9. A rain-observation strip at the toe
The toe of a slope is where water and displaced soil often reveal the story of the hill. Keep this strip visible and easy to inspect before turning it into a dense rain-garden image; ponding there does not prove infiltration is safe.
Before you commit: Work with the grade visually, but treat erosion, retaining structures, steps, and concentrated runoff as site-specific professional questions.
10. A meadow-like slope with managed edges
A meadow-like bank can trade weekly mowing for seasonal cutting and selective weeding, not for zero maintenance. A crisp lower edge and one maintained access line make the looser planting look intentional from the house.
Before you commit: Build layers from mature sizes, sunlight, soil, water, and local suitability; leave access for pruning, irrigation, and cleanup.
11. A top-of-slope overlook
If the best view is already at the top, an overlook may add more value than building on the steep face. Test a modest movable seat first and observe wind, late sun, privacy, and how safely people carry drinks to it.
Before you commit: Keep one obvious route from gate to door and test door swings, carrying width, night visibility, and wet-weather footing.
12. A phased erosion-first makeover
Where erosion is visible, the first phase should be observation, stabilization advice, and access—not decorative planting everywhere at once. A phased visual can show repaired bare areas, then planting, then amenities, without pretending the sequence is a specification.
Before you commit: Work with the grade visually, but treat erosion, retaining structures, steps, and concentrated runoff as site-specific professional questions.
13. A sunny pollinator bank
A sunny pollinator bank benefits from repeated drifts that read clearly from below and offer a long season of bloom. Plant selection still depends on region, soil, water, and invasive status, and the maintenance route must reach the middle of the display.
Before you commit: Build layers from mature sizes, sunlight, soil, water, and local suitability; leave access for pruning, irrigation, and cleanup.
14. A no-retaining-wall visual study
Before assuming a retaining wall is the answer, compare a concept that leaves the grade legible and concentrates use on naturally gentler ground. This can reveal whether the real goal is access, a view, easier care, or more flat area—four different briefs.
Before you commit: Work with the grade visually, but treat erosion, retaining structures, steps, and concentrated runoff as site-specific professional questions.
15. A maintenance route that reaches every zone
Every attractive zone on a hill creates a future trip with tools, mulch, water, or cut material. Draw one continuous maintenance route that reaches the top, middle, and toe; if the image cannot show it, the planting plan is not yet believable.
Before you commit: Hide visual clutter without blocking meters, condensers, bins, downspouts, gates, or the working clearance technicians need.
Choose the idea that fixes the daily problem
A polished image is not automatically the right answer. Prefer the option that improves the route you use every day, keeps maintenance reachable, and can be installed in sensible phases. If two concepts look equally good, choose the one that changes less permanent infrastructure.
From one photo to a useful next step
- Photograph the whole space in daylight, including doors, edges, drains, utilities, and the route into the yard.
- Mark what cannot move and name one problem the design must solve.
- Compare no more than three directions from the same camera angle.
- Measure the preferred direction and verify plants, structure, drainage, utilities, fire clearances, and permits locally.
Frequently asked questions
Can AI produce a construction plan for a sloped yard?
No. It can help compare visual directions from a photo, but dimensions, grading, structure, drainage, utilities, plants, and permits require verification.
How many concepts should I compare?
Two or three from the same photo is usually enough. Change one major decision at a time so you can tell what improved the space.
Should I remove everything first?
No. Mark doors, boundaries, healthy mature plants, useful paving, drains, and services as keep items before generating.
Can I copy the plant palette exactly?
Treat it as a visual palette only. Confirm species, mature size, hardiness, sunlight, water, toxicity, and invasive status locally.
What photo works best?
Use a wide daylight view that shows the whole ground plane, house connection, edges, and obstacles. Add side views when one photo hides a key constraint.
When should I call a professional?
Use one for structural work, retaining walls, complex drainage, utilities, electrical work, code questions, steep access, or any condition that could affect safety or neighboring property.
The most convincing concept is the one that still works after the furniture, bins, hose, gates, wet weather, and weekly maintenance return. Start with the site, not the style name, and use the image as a decision aid—not as permission to skip measurements or professional review.